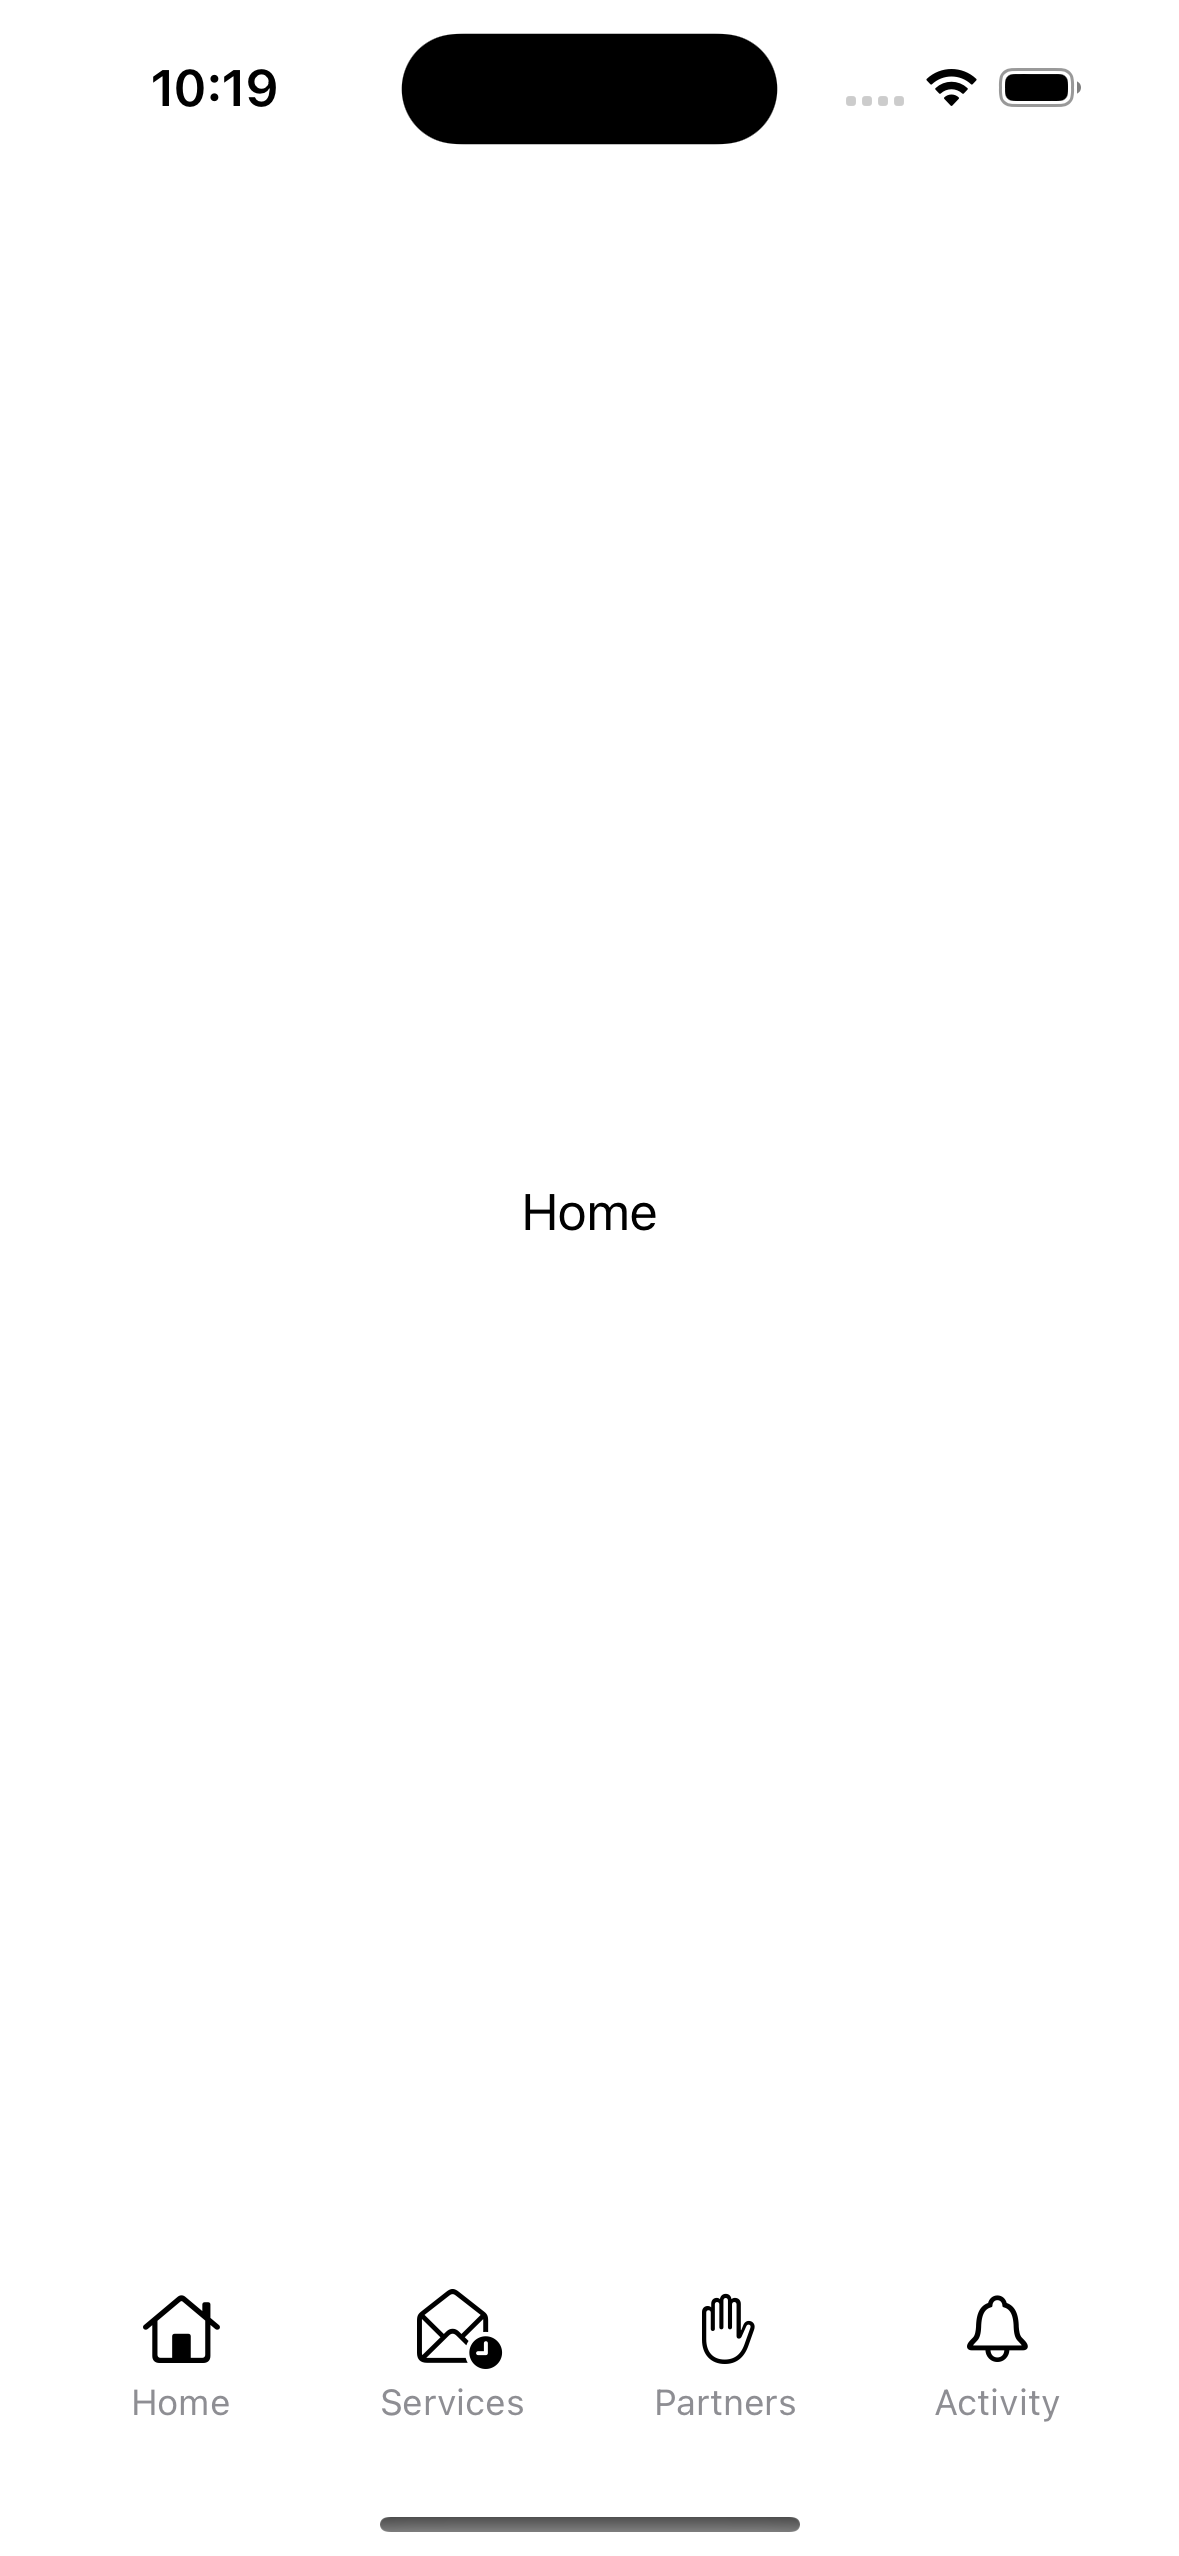
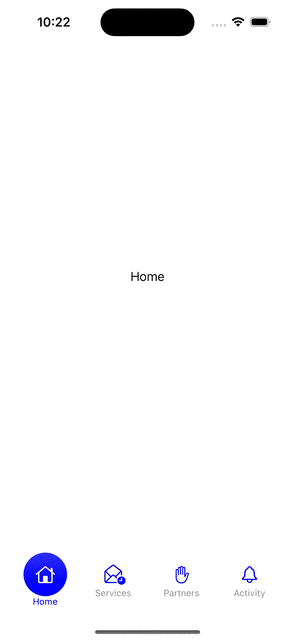
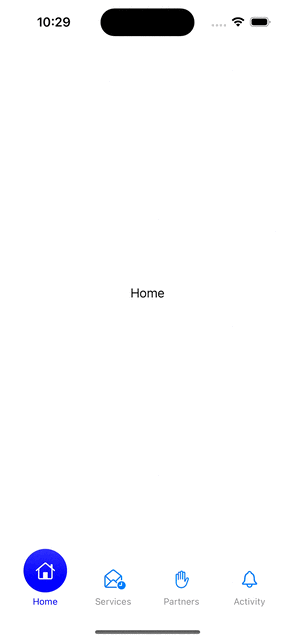
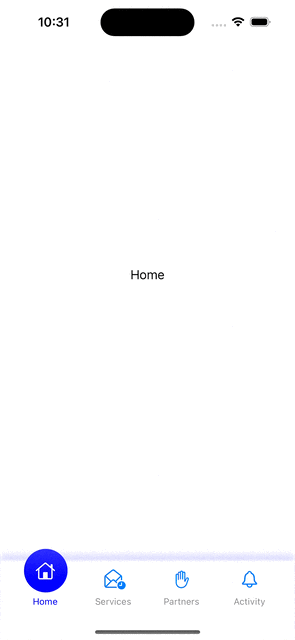
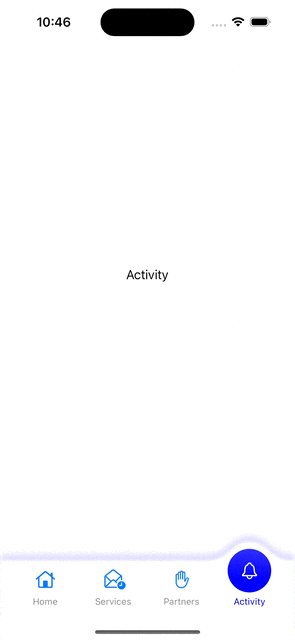
결과물🤟🏻:
메뉴 클릭시 해당 메뉴로 이동하는 애니메이션

이번 애니메이션을 학습하게된 계기 🔫:
Custom shape와 path를 활용하여 메뉴 아이콘 선택 전환에 따른 path 변화를 애니메이션으로 표현
Reference ✂️ :
과정 🎩:
Step 1. Tab bar 메뉴로 사용할 아이콘들과 명칭을 View 하단에 배치
import SwiftUI


enum Tab: String, CaseIterable {
    case home = "Home"
    case services = "Services"
    case partners = "Partners"
    case activity = "Activity"

    // SF Symbol Image
    var systemImage: String {
        switch self {
        case .home:
            return "house"
        case .services:
            return "envelope.open.badge.clock"
        case .partners:
            return "hand.raised"
        case .activity:
            return "bell"
        }
    }

    // Return Current Tab Index
    var index: Int {
        return Tab.allCases.firstIndex(of: self) ?? 0
    }
}
@ViewBuilder
func CustomTabBar(_ tint: Color = Color("Blue"), _ inactiveTint: Color = .blue) -> some View {
HStack(alignment: .bottom, spacing: 0) {
ForEach(Tab.allCases, id: \.rawValue){
TabItem(
tint: tint,
inactiveTint: inactiveTint,
tab: $0,
activeTab: $activeTab,
)
}
}
.padding(.horizontal, 15)
.padding(.vertical, 10)
}
struct TabItem: Veiw {
var tint: Color
var inactiveTint: Color
var tab: Tab
var body: some View {
VStack(spacing: 5){
Image(systemName: tab.systemImage)
.font(.title2)
.foregroundColor(.white)
Text(tab.rawValue)
.font(.caption)
.foregroundColor( .gray)
}
.frame(maxWidth: .infinity)
}
}
Step 2. Tab bar 메뉴에서 특정 메뉴 선택시 선택됨을 표현할 수 있는 표현 설정
@State private var activeTab: Tab = .home

VStack(spacing: 5){
    Image(systemName: tab.systemImage)
        .font(.title2)
        .foregroundColor(activeTab == tab ? .white : inactiveTint)
        .frame(width: 35, height: 35)
        .background {
            if activeTab == tab {
                Circle()
                    .fill(tint.gradient)
                    .matchedGeometryEffect(id: "ACTIVETAB", in: animation)
            }
        }

    Text(tab.rawValue)
        .font(.caption)
        .foregroundColor(activeTab == tab ? tint : .gray)
}
.frame(maxWidth: .infinity)
.contentShape(Rectangle())
.onTapGesture{
	activeTab = tab
}
Step 3. 선택된 메뉴를 더욱 강조 하기 위해 메뉴 전체를 하단 아래로 위치하게 하고 선택된 메뉴는 커지는 설정

.frame(width: activeTab == tab ? 58 : 35, height: activeTab == tab ? 58 : 35)
.background {
    if activeTab == tab {
        Circle()
            .fill(tint.gradient)
    }
}
Step 4. 메뉴 선택시 떠오르는 애니메이션을 설정

struct Home: View {
	@Namespace private var animation
    ...
}

struct TabItem: View {
	var animation: Namespace.ID

	...
    .background {
        if activeTab == tab {
            Circle()
                .fill(tint.gradient)
                .matchedGeometryEffect(id: "ACTIVETAB", in: animation)
        }
     ...
}
Step 5. 메뉴 선택시 선택된 아이콘을 표현할 원이 이동하는 애니메이션 설정
.animation(.interactiveSpring(response: 0.6, dampingFraction: 0.7, blendDuration: 0.7), value: activeTab)Step 6. Tab bar와 main View를 구분해줄 수 있는 구분 선을 설정
.background(content: {
    TabShape(midPoint: .zero)
        .fill(.white)
        .ignoresSafeArea()
        .shadow(color: tint.opacity(0.2), radius: 5, x: 0, y: -5)
        .blur(radius: 2)
        .padding(.top, 25)
})


struct TabShape: Shape {
    var midPoint: CGFloat

    var animatableData: CGFloat {
        get { midPoint }
        set {
            midPoint = newValue
        }
    }

    func path(in rect: CGRect) -> Path {
        return Path { path in
            path.addPath(Rectangle().path(in: rect))

            path.move(to: .init(x: midPoint - 60, y: 0))

            let to = CGPoint(x: midPoint, y: -25)
            let control1 = CGPoint(x: midPoint - 25, y: 0)
            let control2 = CGPoint(x: midPoint - 25, y: -25)

            path.addCurve(to: to, control1: control1, control2: control2)

            // Since we have moved our point +/- 60, you can also use 30 instead of value 25, but I'm fine with 25. If you choose to change, then change all the instances of +/- 25 to +/- 30 in the X axis only.
            let to1 = CGPoint(x: midPoint + 60, y: 0)
            let control3 = CGPoint(x: midPoint + 25, y: -25)
            let control4 = CGPoint(x: midPoint + 25, y: 0)

            path.addCurve(to: to1, control1: control3, control2: control4)

        }
    }
}
Step 7. 메뉴 선택시 구분 선이 선택된 메뉴를 강조하도록 메뉴 위치에 따른 구분선 모양 변경 설정

TabShape(midPoint: tabShapePosition.x)
...
Step 8. 구분선이 부드럽게 이동하도록 애니메이션 설정
.animation(.interactiveSpring(response: 0.6, dampingFraction: 0.7, blendDuration: 0.7), value: activeTab)Step 9. 메뉴 전환시 View화면이 동일하게 전환되지 않는 iOS 버그를 수정

init() {
    UITabBar.appearance().isHidden = true
}
학습하며 느낀점 🧑🏻🏫:
CGPoint와 path를 활용하여 onTapGesture에서 클릭한 위치에 따른 애니메이션 변화를 설정할 수 있다는 것을 배웠다.
도형과 도형의 관계가 아닌 View의 위치와 Gesture에 따른 상호작용을 활용하면 코드에서는 각각의 독립적인 객체로 보일 수 있으나 View에서는 함께 동작하는 것처럼 보일 수 있다.
'IOS' 카테고리의 다른 글
| SwiftUI Metaball Animation - Kavsoft (iOS 인터렉티브 애니메이션) (0) | 2023.08.01 |
|---|---|
| SwiftUI, 아이콘전환 인터렉티브 애니메이션(shape morphing) (0) | 2023.07.18 |
| SwiftUI, 인터렉티브 다이나믹 아일랜드 스크롤 애니메이션 만들기[1] (0) | 2023.07.10 |
| SwiftUI Blur 효과/ UIBlurEffect (0) | 2023.07.03 |
| Playground 코딩 배우기 2 총 개수 모으기 (0) | 2023.05.15 |


